Why Accurate Window Measurements Matter
Window measurements are the foundation of your blind installation. Even a quarter-inch discrepancy can cause operational problems, light leaks, or an unprofessional appearance. Improper measurements are the #1 reason for returns and adjustments in the window treatment industry. Kansas City homeowners often discover this the hard way—discovering that builder-grade windows vary in size across the same wall, or that exterior trim complicates installation. This guide ensures you measure like a professional, whether you're ordering online or preparing for a consultation with KC Blinds.
Key Takeaways
- 1Always measure at three points (top, middle, bottom for height; left, center, right for width) because windows are rarely perfectly square
- 2Use the smallest measurement for inside mounts and largest for outside mounts to ensure proper fit
- 3A metal tape measure is non-negotiable—cloth measures stretch and cause inaccuracy
- 4Decide on inside vs. outside mount before measuring, as this fundamentally changes your measurements
- 5Professional measurement eliminates guesswork and includes a 5-year fit guarantee
What Tools You'll Need for Accurate Measurements
Before you start measuring, gather the right tools. Using improper tools is one of the fastest ways to create measurement errors that compound during installation. Here's what professional installers use, and why each tool matters for precision.
- Metal tape measure (minimum 25-foot length) — Essential for accuracy; cloth measures stretch and cause errors
- Level (24-inch or longer) — Ensures your measurements account for walls and windows that aren't perfectly plumb
- Notepad or digital device — Record measurements immediately; memory fails on multi-window projects
- Pencil or pen — Use it to mark the measurement points on your window frame for reference
- Helper (optional but recommended) — Holding the tape at the far end reduces measurement tension and error
- Camera or smartphone — Photograph each window from multiple angles to document existing trim and obstacles
- Straightedge or yardstick — Useful for checking if the window frame is square and walls are plumb
Inside Mount vs. Outside Mount: Which Should You Choose?
Your measurement technique changes dramatically based on whether you're installing blinds inside the window frame (inside mount) or on the wall surrounding the window (outside mount). This decision affects not only how you measure but also the visual appearance of your room and the functionality of your blinds. Let's break down when each option makes sense.
Inside Mount Installation
THE PROBLEM:
Blinds must fit precisely within the window frame without gaps or rubbing
WINNING SOLUTION: Custom Roller Shades or Faux Wood Blinds
- • Cleanest, most modern appearance
- • Maximizes natural light into your room
- • Works best with recessed windows
- • Takes up no wall space—ideal for small rooms
Outside Mount Installation
THE PROBLEM:
Blinds must cover the entire window plus surrounding wall to block edge light
WINNING SOLUTION: Honeycomb Cellular Shades or Natural Wood Blinds
- • Covers more wall space for better light blocking
- • Works with shallow window frames or trim obstacles
- • Easier to install on windows with interior trim
- • Better for large windows that need full coverage
Inside Mount: Best For These Situations
- • Modern homes with clean trim lines (common in newer Overland Park and Leawood construction)
- • Windows with attractive frames you want to showcase
- • Renters or temporary situations (easier to remove without wall damage)
- • Small rooms where every inch of space matters
- • Contemporary interior design styles
Inside Mount: Avoid These Situations
- • Windows with thick or decorative trim that protrudes into the frame
- • Windows with recessed headers (common in older Kansas City homes)
- • Situations where you need maximum light blocking (gaps at edges)
- • Windows with shallow depth that won't accommodate blind mechanisms
- • Historic homes with original wooden trim where fit is critical
Projects Completed in Kansas City
Step-by-Step: How to Measure for Inside Mount Blinds
Inside mount installation requires precise measurements because your blinds must fit within the existing frame without gaps or binding. Here's the professional process that KC Blinds installers use on hundreds of Kansas City homes each year.
- 1Measure the width at the top of the window frame, from inside edge to inside edge. Record this measurement to the nearest 1/16 inch.
- 2Measure the width at the middle of the frame. Windows often shift slightly toward the bottom due to settling.
- 3Measure the width at the bottom of the frame. Record all three measurements even if they seem identical.
- 4Measure the height on the left side of the window, from the top interior edge to the bottom interior edge.
- 5Measure the height at the center of the window. This accounts for windows that are slightly wider at top or bottom.
- 6Measure the height on the right side of the frame. You now have three height measurements.
- 7For inside mounts, always use the SMALLEST measurement in both width and height. This ensures your blinds won't be too large.
- 8Check for obstacles inside the frame: window locks, handles, or mechanical elements that might interfere with blind operation.
- 9Measure the depth inside the frame from the front of the frame to the back. Minimum 2 inches needed for most blinds to operate properly.
- 10Use the smallest width and smallest height measurements when ordering. Manufacturers will subtract additional mounting clearance (typically 1/4 inch per side).
Step-by-Step: How to Measure for Outside Mount Blinds
Outside mounts offer more flexibility and better light blocking, but require different measurement approach. Your blinds will overlap the window frame and surrounding wall, so you're measuring the area you want covered, not the window itself.
- 1Decide how much wall space you want covered on each side. Typically 2-3 inches on each side of the window frame provides optimal light blocking.
- 2Measure the distance from the left edge (where you want the blind to start) to the right edge (where you want it to end). This is your width measurement.
- 3Repeat this width measurement at the top, middle, and bottom of the planned coverage area. Windows are rarely perfectly square.
- 4Measure the height from the top of where you want coverage to the bottom. For outside mounts, this often extends above the trim.
- 5Take height measurements at the left, center, and right of your planned coverage area. Walls shift subtly, especially in older Kansas City homes.
- 6For outside mounts, always use the LARGEST measurement in both width and height. This prevents gaps that would allow light to leak around edges.
- 7Check for obstacles on the wall: baseboards, trim, electrical outlets, light switches, or built-in furniture that might interfere.
- 8Measure any protruding trim or architectural elements that might prevent blinds from sitting flush against the wall.
- 9Consider headroom above the window. You need enough space for the blind mechanism without interfering with ceiling or trim.
- 10Document the location of any wall imperfections, uneven surfaces, or areas where the wall isn't plumb—this affects installation.
of DIY measurement errors occur because windows are measured at only one point (top only)
is all the clearance difference that can cause binding or light leaks
more likely to have installation issues with DIY measurements vs. professional measurement
cost of KC Blinds in-home consultation and professional measurement
of parts and labor warranty on our professionally measured and installed blinds
Common Measurement Mistakes and How to Avoid Them
- Measuring at only one point (top only) — Windows settle and shift; always measure at three points (top, middle, bottom)
- Using a cloth measuring tape — They stretch slightly over time; always use a metal tape measure for accuracy
- Rounding measurements — Record exact measurements to the nearest 1/16 inch; rounding up causes binding issues
- Forgetting about the depth inside the frame — Blinds need space to operate; check that you have at least 2 inches of depth for inside mounts
- Assuming windows are square — Most windows, especially in older Kansas City homes, are slightly out of square due to settling
- Not accounting for trim thickness — Exterior trim, sills, and aesthetic molding take up space and affect measurements
- Measuring when the window is open or closed — Both position the frame differently; measure with windows in their standard operating position
- Ignoring obstacles like window locks or handles — These interfere with blind operation and affect measurement strategy
- Using the wrong measurement for inside vs. outside mounts — Inside requires smallest measurement; outside requires largest measurement
- Not documenting your measurements properly — Take photos, write clearly, and double-check before ordering to avoid costly remakes
Room-by-Room Measurement Recommendations for Kansas City Homes
Bedrooms and Private Spaces
THE PROBLEM:
Need maximum light blocking for sleep without gaps or light leaks around edges
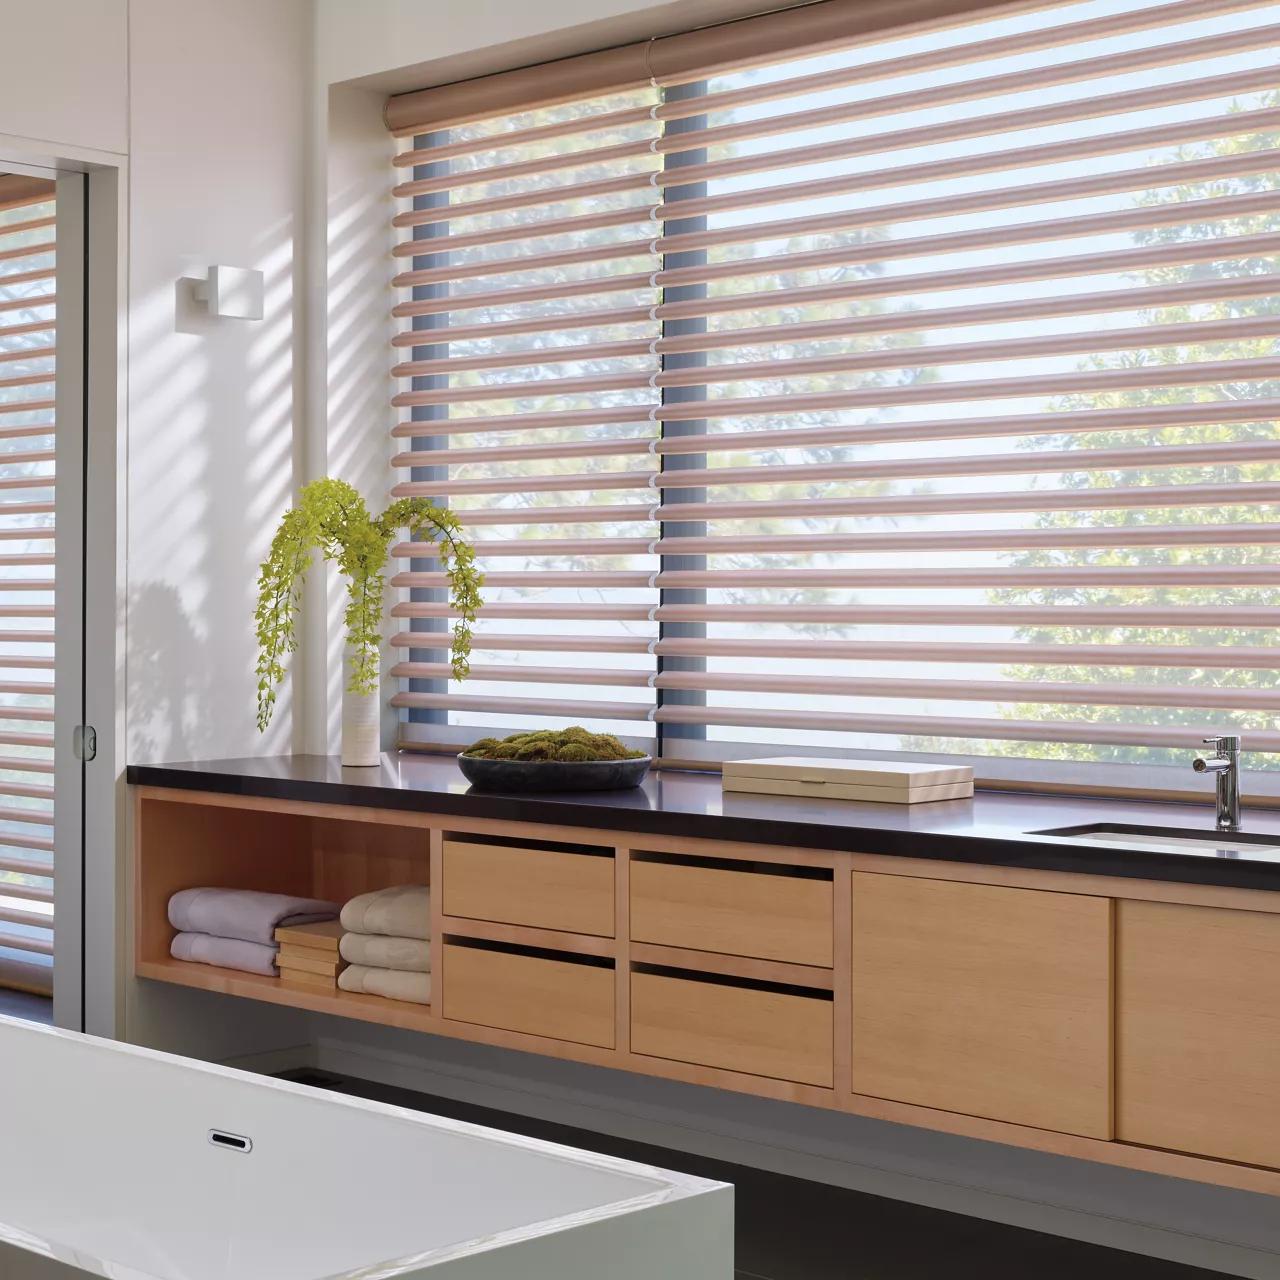
WINNING SOLUTION: Honeycomb Cellular Shades with blackout option (outside mount recommended)
- • Complete darkness for better sleep quality
- • Outside mount eliminates edge light completely
- • Energy efficient—keeps bedroom cooler in Kansas City summers
- • Noise reduction helps with street noise
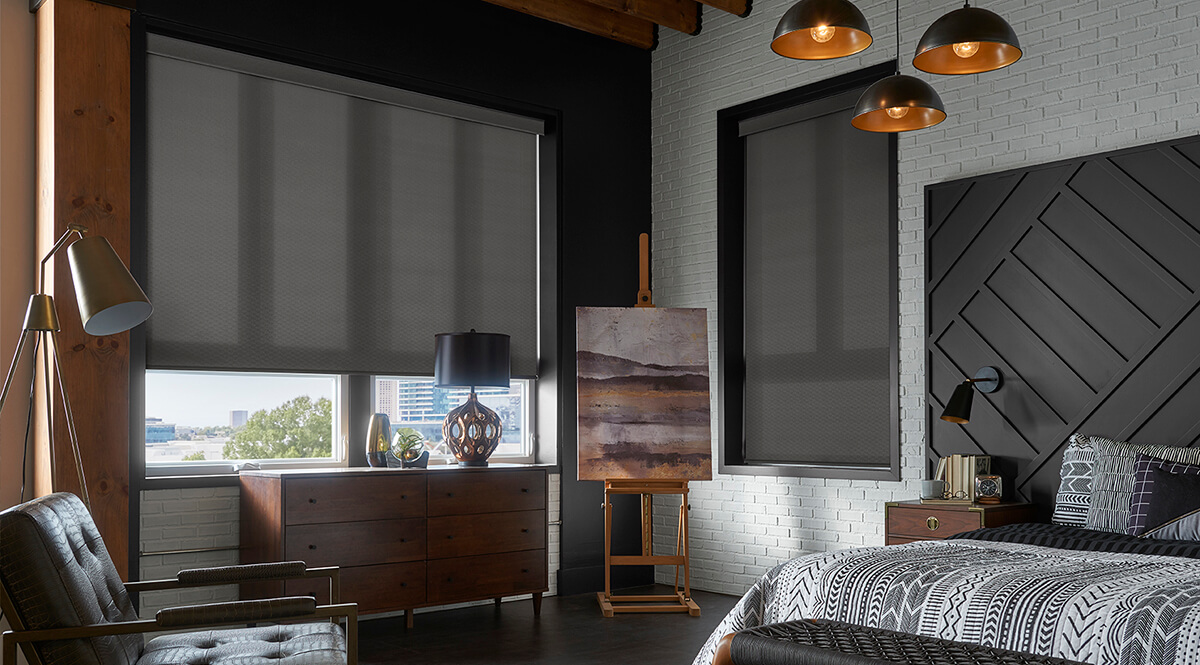
Living Rooms and Common Areas
THE PROBLEM:
Need flexibility for daytime light control and nighttime privacy without darkening the space
WINNING SOLUTION: Custom Roller Shades or Dual Zebra Shades (inside mount works well)
- • Adjustable light control throughout the day
- • Clean modern appearance
- • Takes minimal wall space
- • Works with modern Overland Park and Leawood home styles
Kitchens and Bathrooms
THE PROBLEM:
High moisture environment requires moisture-resistant materials that won't warp or mildew
WINNING SOLUTION: Faux Wood Blinds (outside mount for easier cleaning)
- • Moisture-resistant composite materials
- • Easy to wipe clean and maintain
- • Durable and long-lasting
- • Perfect for humid Kansas City summers
Home Offices and Media Rooms
THE PROBLEM:
Need UV protection for equipment and glare reduction without completely darkening the space
WINNING SOLUTION: Custom Roller Shades with solar control or UV-blocking option (inside mount)
- • Reduces screen glare for better visibility
- • Protects computer equipment and furniture from UV fade
- • Professional appearance for video calls
- • Maintains ability to see outdoors
Special Considerations for Kansas City Architecture and Climate
Kansas City's unique blend of historic homes and modern developments requires tailored measurement approaches. Older homes in Prairie Village, Mission Hills, and Brookside often have original wooden windows with deep trim, while newer construction in Overland Park and Leawood features clean, modern frames. Kansas City's hot, humid summers mean moisture resistance is critical for bathrooms and kitchens. Additionally, our climate experiences significant sun exposure on south and west-facing windows, making light-blocking and UV protection important measurement considerations.
- Historic home considerations: Measure extra carefully in older Kansas City homes where windows have settled unevenly. Original trim may be thick and affect inside mount feasibility.
- Suburban new construction: Overland Park, Leawood, and newer Prairie Village homes typically have standard-depth frames that work well for inside mounts.
- Bay windows and custom shapes: These require measurement at multiple points along the curve. Consider outside mounts for Bay windows to simplify installation.
- South and west-facing windows: Kansas City's intense afternoon sun makes Honeycomb Cellular Shades with blackout linings popular for these exposures.
- Basement windows: Common in many Kansas City homes, these often need outside mounts due to shallow sill depth.
- Sliding glass doors: These are measured differently—full width of the door opening is covered. Outside mounts are typically better for light control.
- Large picture windows: More common in modern Kansas City homes; consider motorized options for easy operation of hard-to-reach treatments.
“I measured our three bedroom windows myself using an online guide, and two of them came back too wide. The KC Blinds team showed me I'd only measured at the top—our house had settled enough that the middle and bottom were smaller. Their free consultation saved us hundreds in remakes. Now all three rooms have perfectly fitting Custom Roller Shades.”
— Jennifer M., Overland Park, KS
When to Call Professional Measurers Instead of DIY
While this guide covers complete measurement techniques, certain situations benefit from professional expertise. KC Blinds provides free in-home consultation with professional measurement at no cost or obligation. Here's when professionals are worth the peace of mind:
- Historic homes with unusual window configurations or significant settling
- Large-scale projects (10+ windows) where cumulative measurement error multiplies
- Motorized or smart home integrated blinds that require precise technical specifications
- Custom drapery or plantation shutters where appearance and fit are critical
- Windows with obstacles like air conditioning units, security bars, or architectural elements
- Bay windows, arched windows, or other non-standard window shapes
- Situations where you want to minimize risk with a 5-year fit guarantee
- Second stories or hard-to-reach windows where safety is a concern
Organizing and Documenting Your Measurements
Once you've measured, organize your data clearly. This prevents transcription errors when ordering and helps installation go smoothly. Create a system that works for you—whether digital or paper-based.
- 1Create a floor plan sketch showing which room has which window, labeled with measurements
- 2Photograph each window from multiple angles—straight on, and from diagonal corners to show depth and obstacles
- 3Use a spreadsheet or table format with columns for Window ID, Room, Width-Top, Width-Middle, Width-Bottom, Height-Left, Height-Center, Height-Right, Mount Type, and Notes
- 4Include notes about obstacles, trim thickness, window condition (sticky, painted shut, etc.), and any special considerations
- 5Double-check all measurements before submitting them for order—common mistake is transcribing numbers incorrectly
- 6Keep copies of your measurements and documentation—useful if you need adjustments or future repairs
- 7Share photos and measurements with your vendor—whether online retailer or local professional like KC Blinds
What Happens Next: From Measurement to Installation
After measurement comes the actual ordering and installation process. Whether you're ordering online or through a professional, here's what to expect. Professional services like KC Blinds include fabrication time (typically 2-4 weeks), professional installation, and 5-year warranty coverage on both parts and labor. Your precise measurements ensure blinds arrive custom-fitted for your exact window dimensions, and professional installation by trained experts ensures they're hung correctly and operate smoothly.
- Review your quote and measurements to ensure accuracy before submitting final order
- Production timeline begins once order is confirmed (typically 10-14 business days for custom fabrication)
- Most window treatment companies provide temporary shades while your custom treatments are being made (KC Blinds provides these free)
- Installation appointment is scheduled based on your availability (evenings and weekends available)
- Installation day typically takes 2-6 hours depending on project size
- Professional installers will verify measurements on-site and adjust if needed
- Final walkthrough ensures everything operates correctly and meets your expectations
- Warranty coverage begins upon installation completion
Frequently Asked Questions About Window Measurement
Where to measure
Number of measurement points
Which measurement to use
Typical clearance allowed
Light blocking capability
Visual appearance
Best for historic homes
Best for small rooms
| Measurement Factor | Inside Mount | Outside Mount |
|---|---|---|
| Where to measure | Inside the window frame opening | From wall edge to wall edge (or where you want coverage) |
| Number of measurement points | 3 width points, 3 height points (9 total) | 3 width points, 3 height points (9 total) |
| Which measurement to use | Use the SMALLEST of the three measurements | Use the LARGEST of the three measurements |
| Typical clearance allowed | 1/4 inch per side for mounting brackets | 2-3 inches of overlap on each side for light blocking |
| Light blocking capability | Light leaks possible at edges and around frame | Excellent light blocking with proper overlap |
| Visual appearance | Clean, modern look; frame visible | Blinds appear larger, more dramatic coverage |
| Best for historic homes | Not recommended (trim conflicts) | Better option (accommodates thick trim) |
| Best for small rooms | Better (doesn't take wall space) | Not ideal (extends onto wall) |
Related Products
Custom Roller Shades
Popular choice for precise inside mount installation due to clean profile and modern appearance
Learn More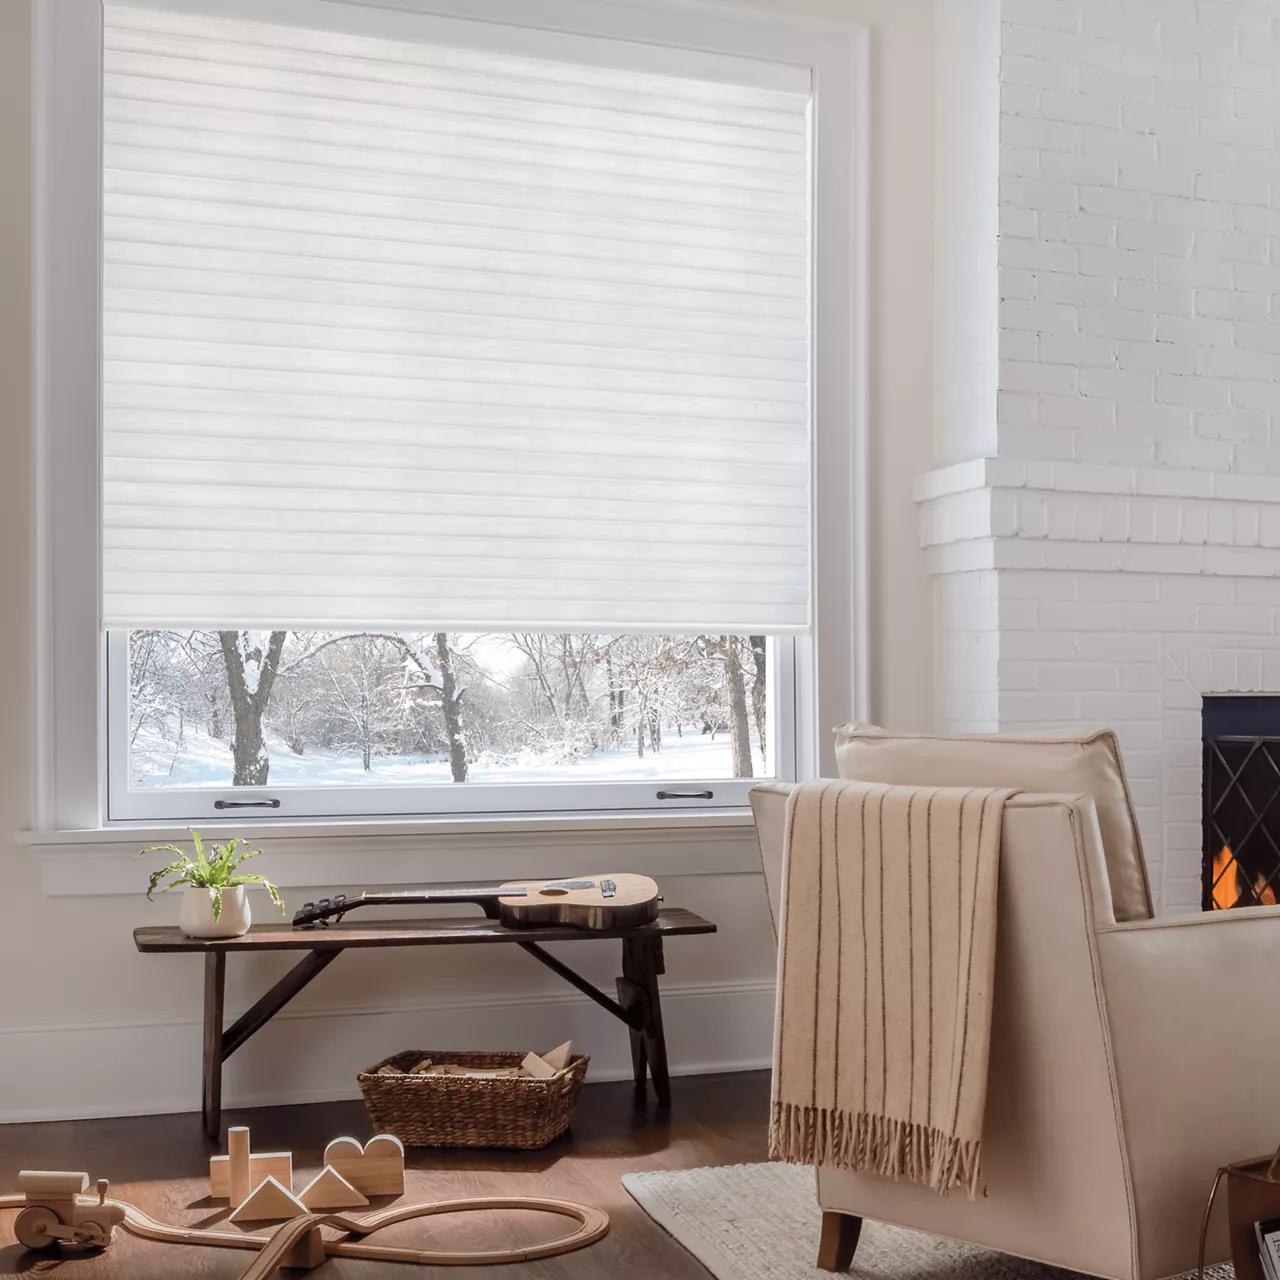
Honeycomb Cellular Shades
Energy-efficient option ideal for Kansas City climate; exact measurements ensure proper seal for insulation
Learn More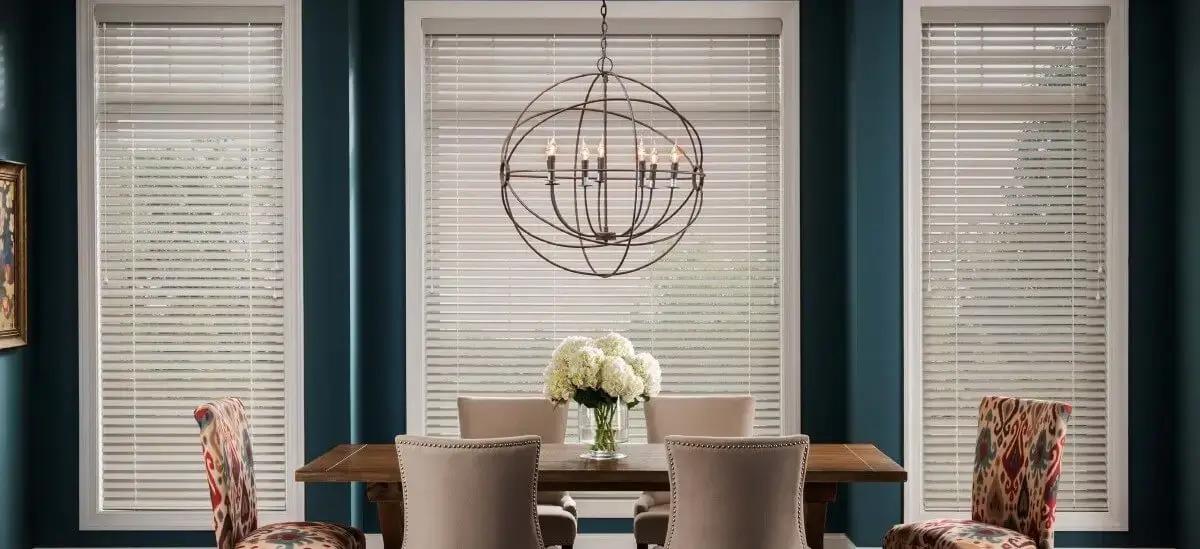
Natural Wood Blinds
Classic option requiring accurate measurement to ensure louvers operate smoothly without binding
Learn MoreFrequently Asked Questions
Not recommended for blind ordering. While smartphone measurement apps can give approximate dimensions, they lack the precision needed for custom window treatments. A 1/4 inch error causes binding or gaps. Always use a metal tape measure accurate to 1/16 inch for final measurements. Apps are fine for preliminary planning or room photos, but use physical tools for actual ordering.
Inside mount measures the window frame opening itself (where blinds will sit inside the frame). Outside mount measures the wall area you want covered (typically 2-3 inches beyond the frame on each side). The critical difference: use the SMALLEST measurement for inside mounts (prevents too-large blinds) and the LARGEST for outside mounts (prevents gaps). Choosing the wrong mount type before measuring is a common error.
Windows are rarely perfectly square. Houses settle, twist slightly, and foundations shift—especially in older Kansas City homes. Measuring at only one point (typically the top) misses width or height variations that cause binding, light leaks, or operational problems. Professional installers measure all three points and use the smallest (inside mount) or largest (outside mount) measurement to account for these variations.
Small discrepancies (under 1/8 inch) are normal and don't affect installation. If you discover a major error (over 1/4 inch), contact your vendor immediately. Most reputable companies, including KC Blinds, will correct measurements during the consultation before fabrication. This is why professional measurement is valuable—it's verified before custom manufacturing begins.
Measure with windows in their normal operating position (typically closed). Window position shouldn't affect frame measurements, but it's good practice for consistency. For measuring sill depth (space available inside the frame), ensure windows are closed so you're measuring true available space. This is especially important in Kansas City homes with old wooden windows that may bind when open.
Professional-grade accuracy is 1/16 inch (the distance between tape measure marks). This is achievable with a metal tape measure, steady hand, and careful positioning. For most blinds, accuracy within 1/8 inch is acceptable. Error over 1/4 inch starts causing operational problems. Using a level while measuring helps maintain perpendicularity and improves accuracy.
For single-room projects, DIY measurement with this guide works fine if you're careful. For multi-room projects, hard-to-reach windows, or premium treatments, professional measurement is worthwhile. KC Blinds offers free in-home consultation and measurement at no cost—this guarantees accuracy and comes with a 5-year warranty. No obligation to buy, so you can compare quotes with confidence.
About the Author
Ready to Get Started?
Schedule your free in-home consultation with our Kansas City window treatment experts. We'll help you find the perfect solution.
Or call us at (816) 298-5663